
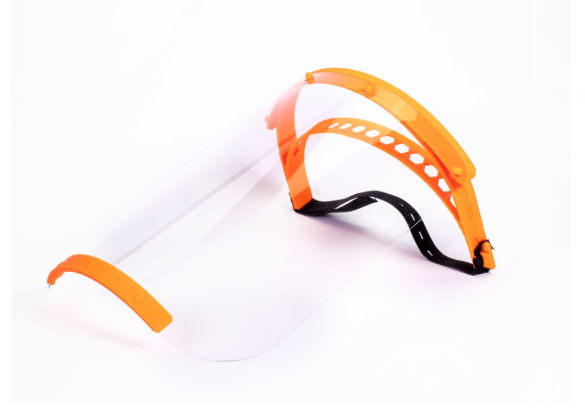
Pour pallier la pénurie de masques, et alors que le port d’un écran de protection est désormais recommandé pour tous, des entreprises spécialisées dans l’impression 3D se mobilisent, partout en France, pour fabriquer exclusivement des visières en plastique à destination des hôpitaux, des Ephad, des cliniques ou encore des pharmacies.
Category: Atelier – Faire soi-même
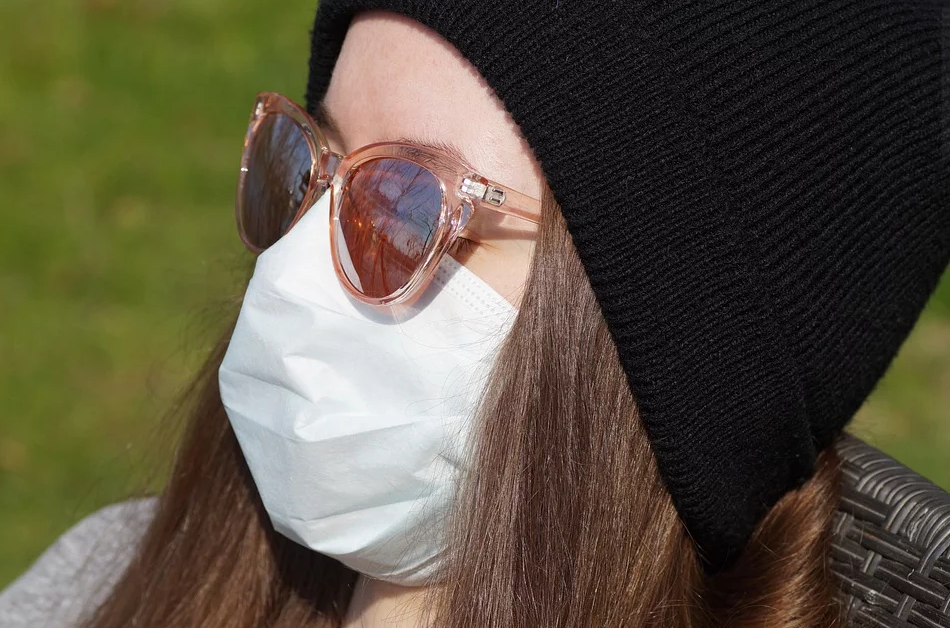
MOBILISATION NATIONALE : Faire un masque de protection avec ou sans machine
Des tutoriels permettant de fabriquer soi-même des masques existent. S’ils peuvent rassurer les particuliers, les personnels soignants, eux, sont récalcitrants.
La première question qui s’est posée avant d’écrire cet article est la suivante: Les masques de protection faits maison sont-ils efficaces contre le COVID-19 ?
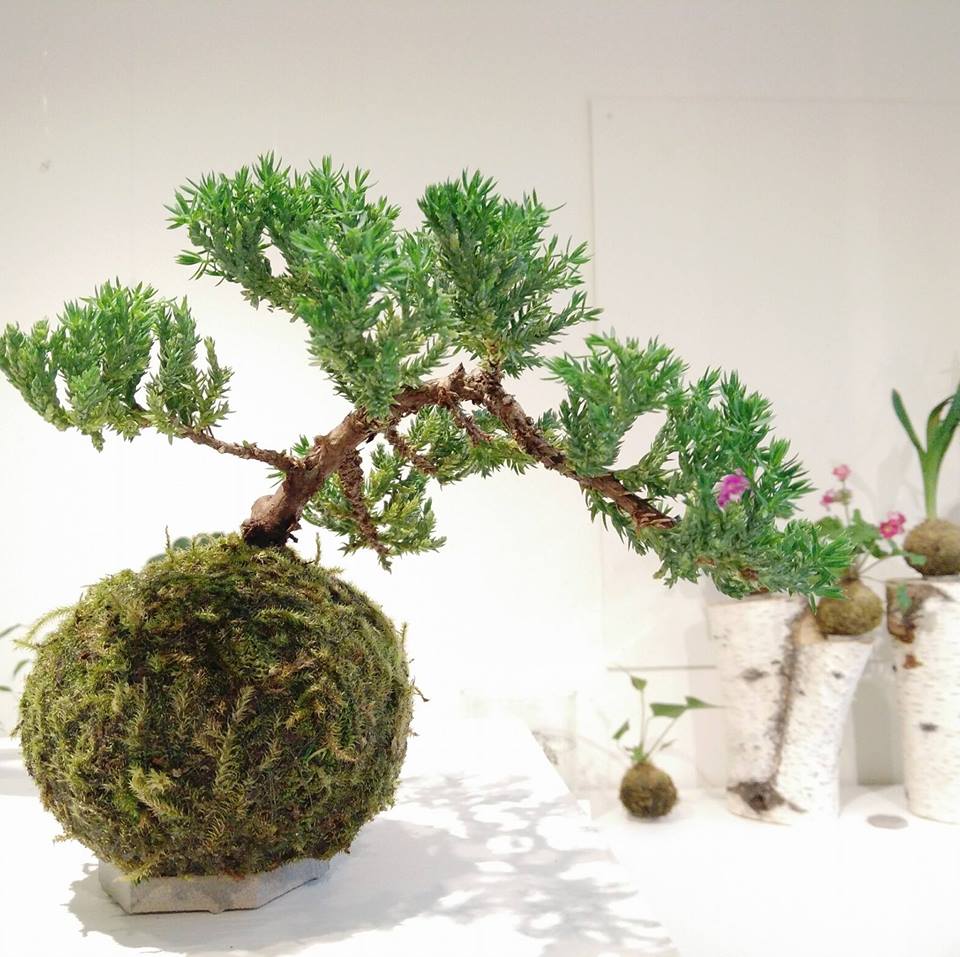
Kokédama pour tous
Tuto :Graphiques, ludiques, écolos et vivantes, ces compositions ont tout pour séduire, jusqu’aux jardiniers les moins doués.
Qu’est-ce que le kokédama ?
Le kokédama, c’est la nouvelle tendance en matière de déco. Il s’agit de ces plantes placées dans un support design, enveloppées de mousse et formant une sphère.
Les kokédamas (traduire littéralement par « boule de mousse ») sont nés au début des années 90 au Japon. En fait, le kokédama est la fusion de plusieurs techniques traditionnelles japonaises : le bonsaï, pour le côté arbre miniature et l’ikébana, pour l’aspect arbre floral.
Vous pouvez également le créer vous-même. Le DIY (do-it-yourself) n’est-il pas, lui aussi, particulièrement tendance ces derniers temps ? Par ailleurs, le Kokédama est écologique car il remplace les pots en plastique. Vous trouverez les divers ingrédients dans les boutiques ou les sites dédiés à l’Art du bonsaï.
Les 10 points à savoir :
- Placez votre kokedama derrière une fenêtre voilée, pas de soleil direct. En été, éloignez-le de la fenêtre, surtout si elle est orientée plein sud. Rapprochez le de la fenêtre et écartez le rideau en hiver, pour lui donner un peu de soleil.
- Le choix de la mousse est délicat car toutes ne sont pas aptes à être utilisées de la sorte. En France, le Ctenidium sp, est la mousse la plus utilisée. Elle est très résistante à la sécheresse, et s’adapte aux conditions ensoleillées à mi-ombragées. Elle forme un tapis d’un vert vif si l’atmosphère est humide, et vert mat quand il fait sec.
- La mousse reste bien verte tant que l’on évite de pulvériser de l’eau dessus car, en intérieur, cela la fait brunir.
- Le kokedama peut vivre deux ans dans la sphère de mousse (spathiphyllum, asparagus, aloé, phalaenopsis, lierre, beaucarnéa, certaines succulentes). D’autres vivent un an environ. Quand la plante se développe trop et que la tailler devient impossible, rempotez la dans un pot classique. Vous pouvez également confectionner une nouvelle sphère.
- Il faut des plantes qui aient un certain graphisme. On utilise l’Asparagus plumosus ou l’Asparagus falcatus, tous deux au feuillage si léger, certaines fougères comme Davallia canariensis, des cactées comme Echeveria agavoides ou bien des euphorbes cactiformes (Euphorbia trigona), le jonc japonais (Acorus gramineus), le Ficus microcarpa ‘Ginseng’, aux racines aériennes sculpturales…

Comment fabriquer un kokédama?
Un Kokedama est composé de trois éléments : de la mousse, une plante, du substrat.
- Enlever la terre des racines des plantes.
- La remplacer par une terre plus compacte.
- Mélangez tourbe, terreau à cactus et argile, et ajoutez de l’eau pour obtenir une texture plus pâteuse.
- Donnez à la terre une forme de boule et recouvrez la de mousse.
- Ficeler la boule pour la suspendre au plafond.
Matériel nécessaire :
- Plante adaptée à ce type de culture ;
- ciseaux ;
- mousse naturelle comme celle que l’on trouve dans les sous bois ;
- argile noire (ketoh) ;
- Akadama en grains moyens;
- vermiculite ;
- bassine ;
- fil de nylon ou fil de coton noir.

Par étapes:
- Dans une bassine, plongez l’argile noire pendant une nuit dans un peu d’eau pour qu’elle se liquéfie.
- Le lendemain, retirez l’eau en surplus et mélangez l’argile (50%) à l’akadama (30%) et à la vermiculite (20%).
- L’akadama peut être remplacé par de la tourbe et la vermiculite par du sable de rivière si nécessaire.
- Pétrissez le tout jusqu’à former une pâte visqueuse, ajoutez de l’eau si nécessaire.
- Sortez la plante de son pot et démêlez les racines avec précaution.
- Coupez les racines jusqu’à 1/3 si le système racinaire est très développé.
- Appliquez ensuite le mélange tout autour des racines jusqu’à former une sphère de dix centimètres.
- Couvrez avec la mousse humidifiée au préalable et fixez le tout avec un fil de nylon ou de coton noir.
- Taillez la mousse afin de former une boule parfaite à l’aide de petits ciseaux.
- Plongez la sphère du kokedama dans de l’eau à température ambiante pendant 5 minutes. Laissez égoutter.
Il ne reste plus qu’à installer la plante sur son support.
Les petits + de PersoClo :
- Choisissez une plante de préférence résistante, persistante et appréciant l’humidité. Elle doit également avoir une adaptation racinaire aisée. Le lierre, les fougères (comme la fougère davallia, de petite taille) ou une plante tropicale ( le petit palmier chamae dorea ou l’asparagus) sont des types de plantes particulièrement adaptés au Kokedama.
- Choisissez également de la mousse bien épaisse, de celle qui pousse dans les bois par exemple. Pensez bien à la nettoyer afin d’enlever les parasites (insectes, petits escargots…)
- Vous pouvez également créer votre substrat en mélangeant à proportion égale de l’argile (celle utilisée pour faire de la poterie par exemple), du terreau et de la sphaigne (qu’on trouve en jardinerie, à ne pas confondre avec la tourbe).
- Vous pouvez le placer en intérieur ou en extérieur, mais préférez l’intérieur pour les plantes exotiques. Le Kokedama peut être suspendu a un fil, ce qui donne une ambiance poétique et originale. Il peut aussi être positionné sur des billes d’argile qui conserveront l’humidité.
- Évitez de l’exposer aux courants d’air ou à la climatisation.
- Surveillez bien son humidité. Son poids peut servir d’indicateur : s’il est léger, c’est qu’il a besoin d’eau ! Vous pouvez l’arroser classiquement ou par trempage, avec de l’eau si possible faiblement minéralisée. Vous pouvez aussi pulvériser régulièrement de l’eau sur la mousse afin qu’elle conserve son humidité.
- Au bout d’un certain temps, les racines de la plante seront à l’étroit dans le Kokedama. Vous pouvez alors rempoter la plante, ou refaire un Kokedama après avoir taillé les racines, remis un nouveau substrat et de la nouvelle mousse autour.
- Supprimer les feuilles fanées, pour l’esthétique mais également pour favoriser la venue des nouvelles pousses.


Voici un tuto en vidéo disponible sur PersoCloTV
Par Persoteam
asde123 998855
Le 18/10/2018
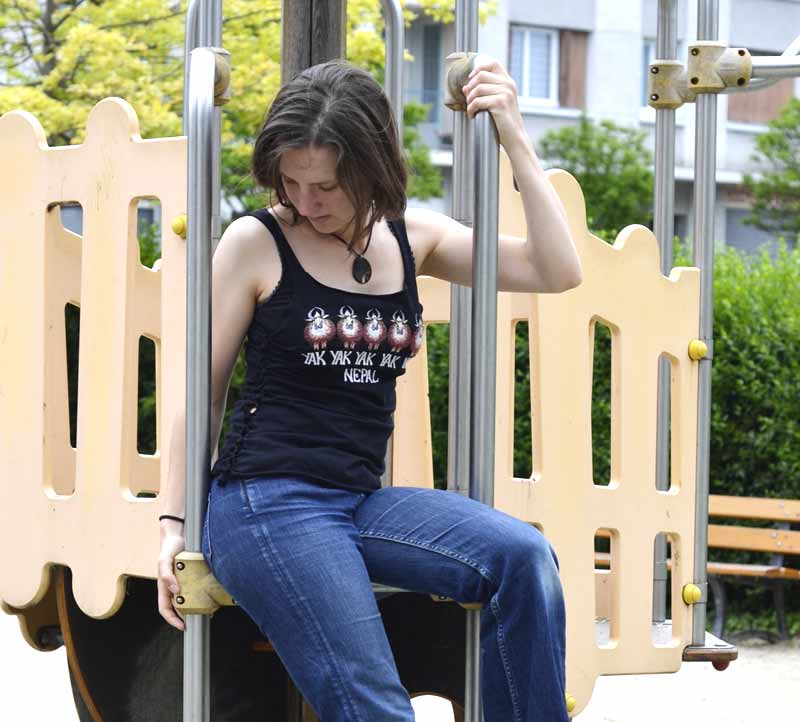
Transformation d’un T-shirt ample en débardeur ajusté – sans couture
I’ll show you how to turn this men’s T-shirt into a pretty tank top, and it’s seamless.
You need: scissors that cut the fabric well, the tshirt of your darling, a pencil or chalk to mark the Tshirt, a tank that suits you you want to take the form. That’s all !
Start by putting your tank top on the T-shirt, placing the top of the straps against the top of the T-shirt. Be careful to center the tank top.
Mark the entire tank top on the T-shirt. Use a white chalk on a dark tshirt or a pencil of greasy paper or charcoal on a light tshirt if you do not have sewing chalk.
Cut along the cuffs of the sleeves and collar. Remember to cut straps at least 2 cm wide: it takes enough width for it to be solid.
On each side cut fringes stopping at the mark you drew. Then cut the side of the T-shirt to split the fringes in half: one below and one above.
Pull on the fringes to roll the fabric. Tie each fringe of the top with the corresponding fringe of the bottom. Make two knots for that, hold on well.
You can, if you want, cut the fringes about 1 or 2 cm from the knots and cut the hem at the bottom of the T-shirt.
And tadadam! You’re done !

Posté dans 2013/06/11 par Clementine
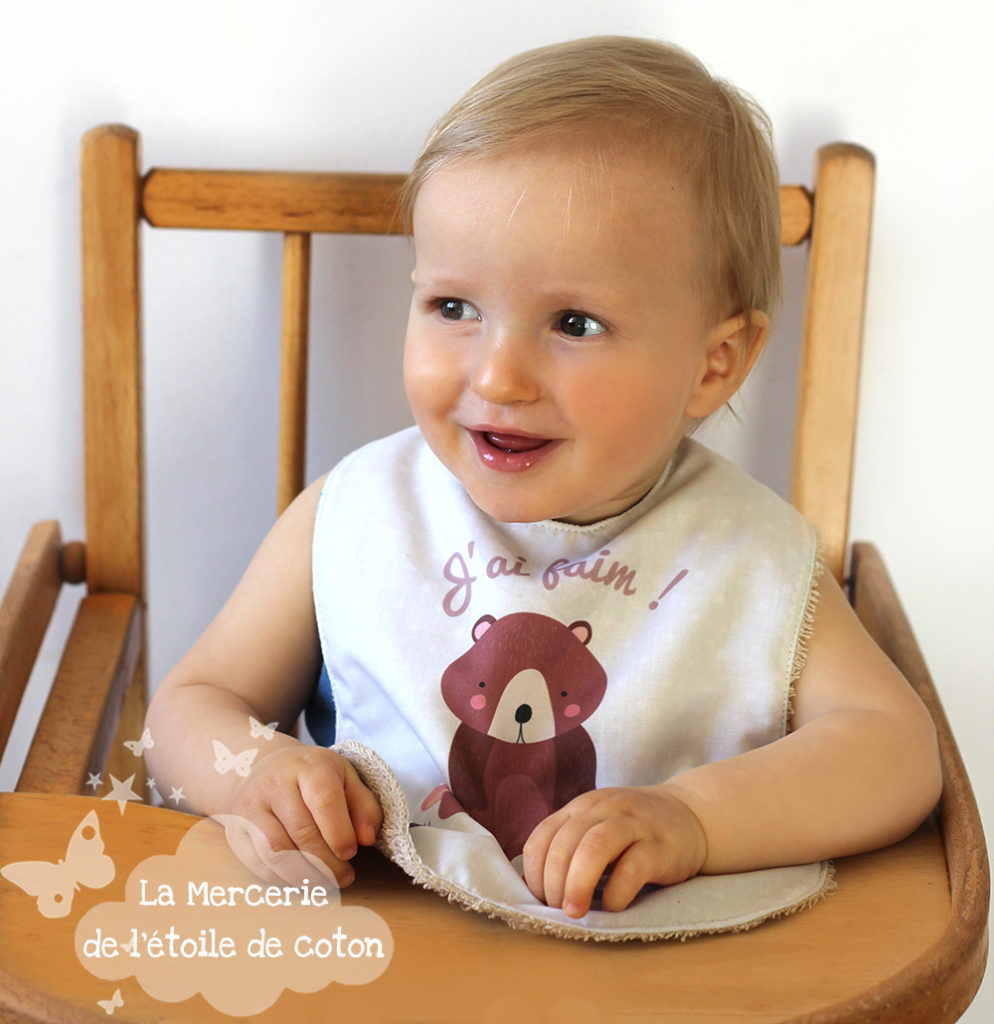
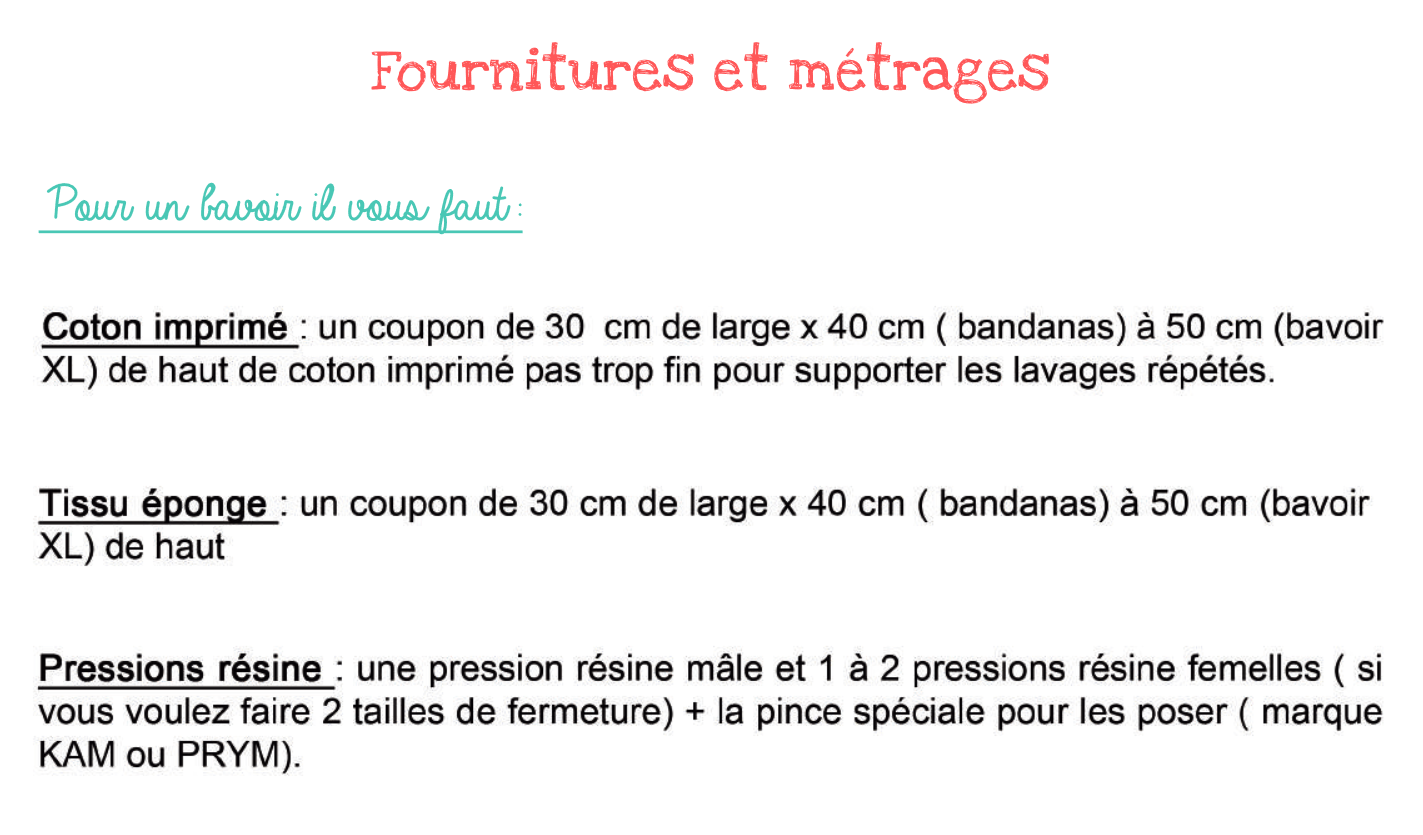
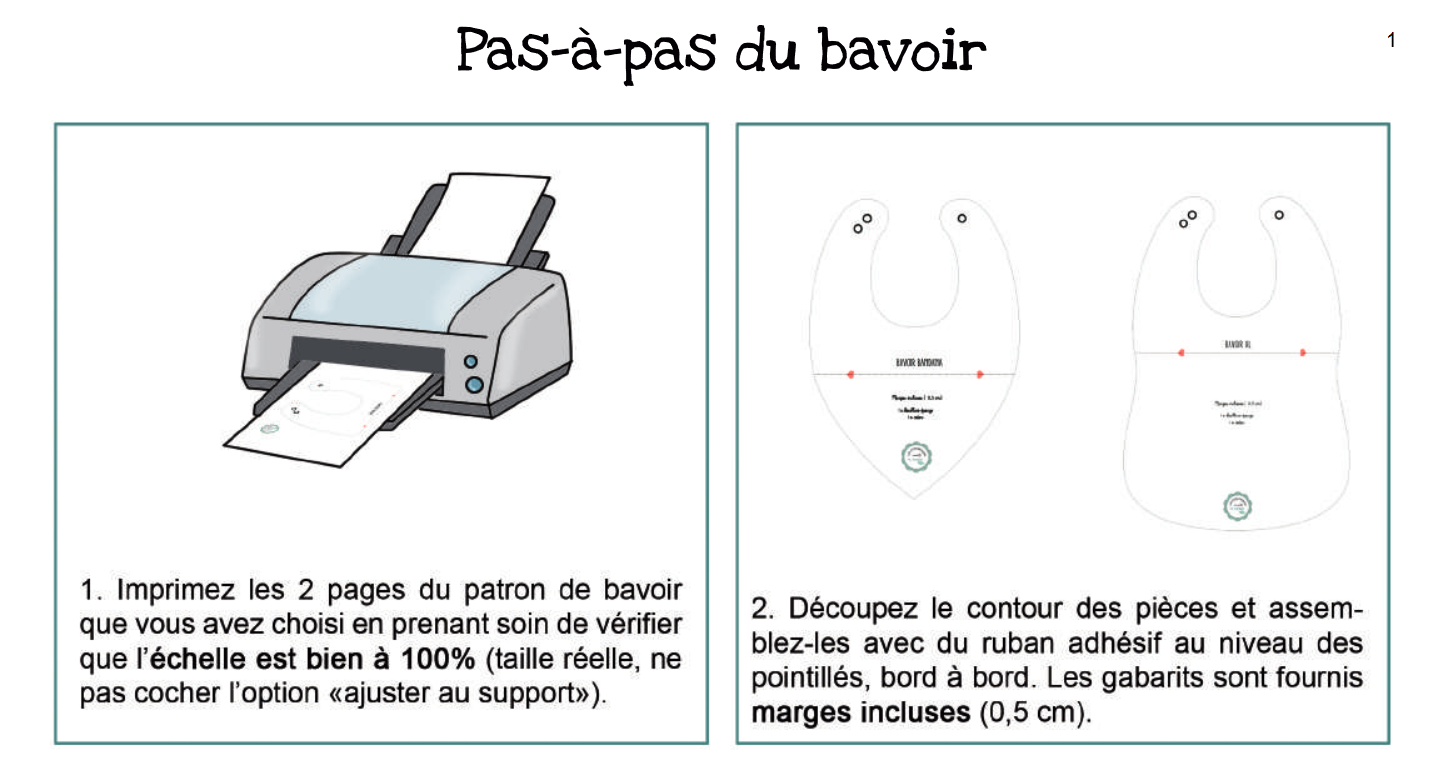
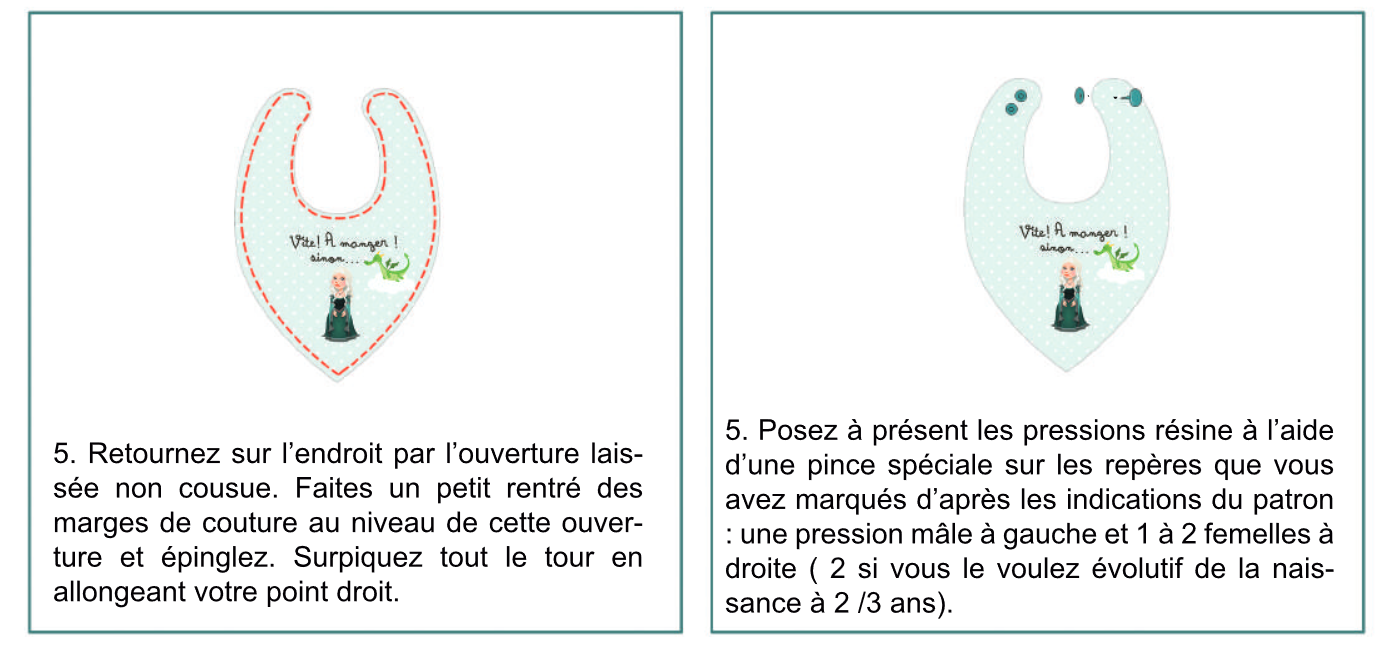
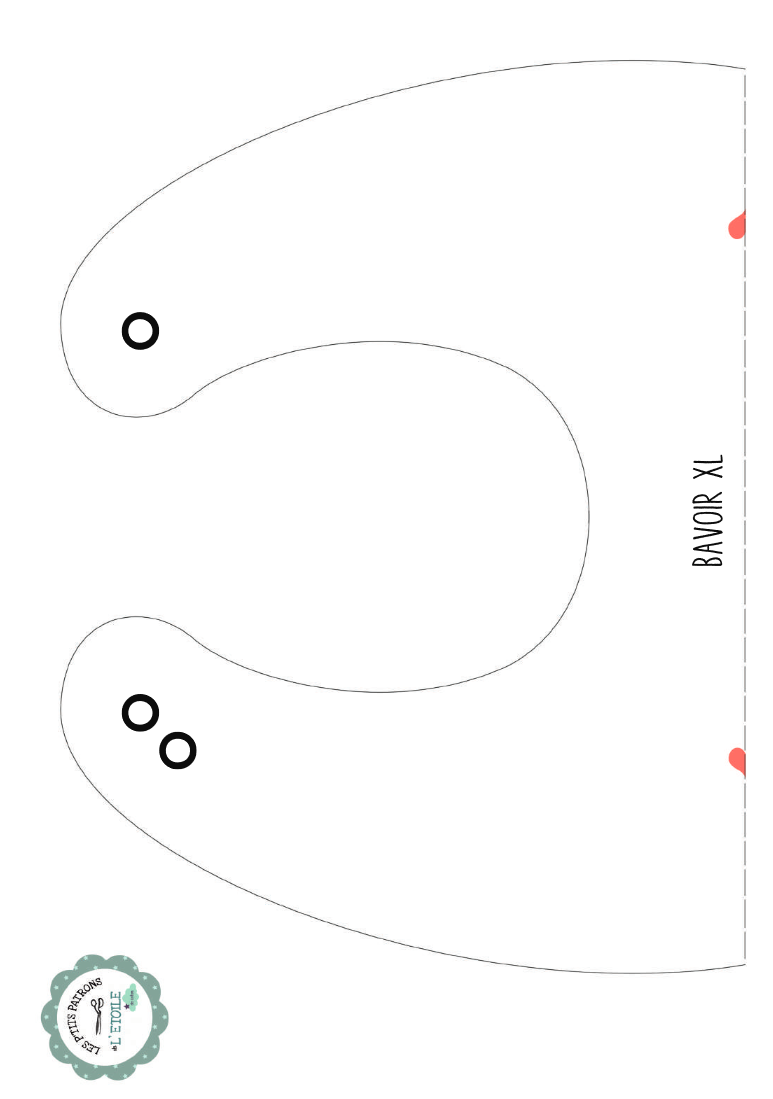
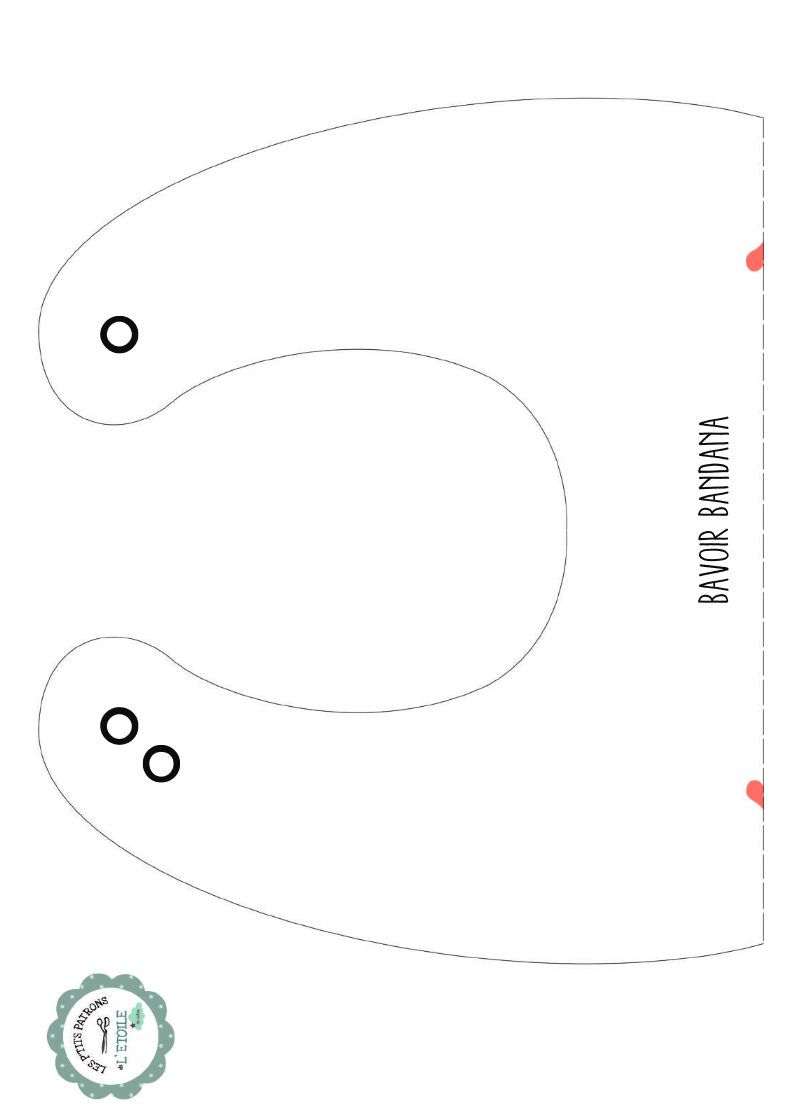
Bavoir Bandana
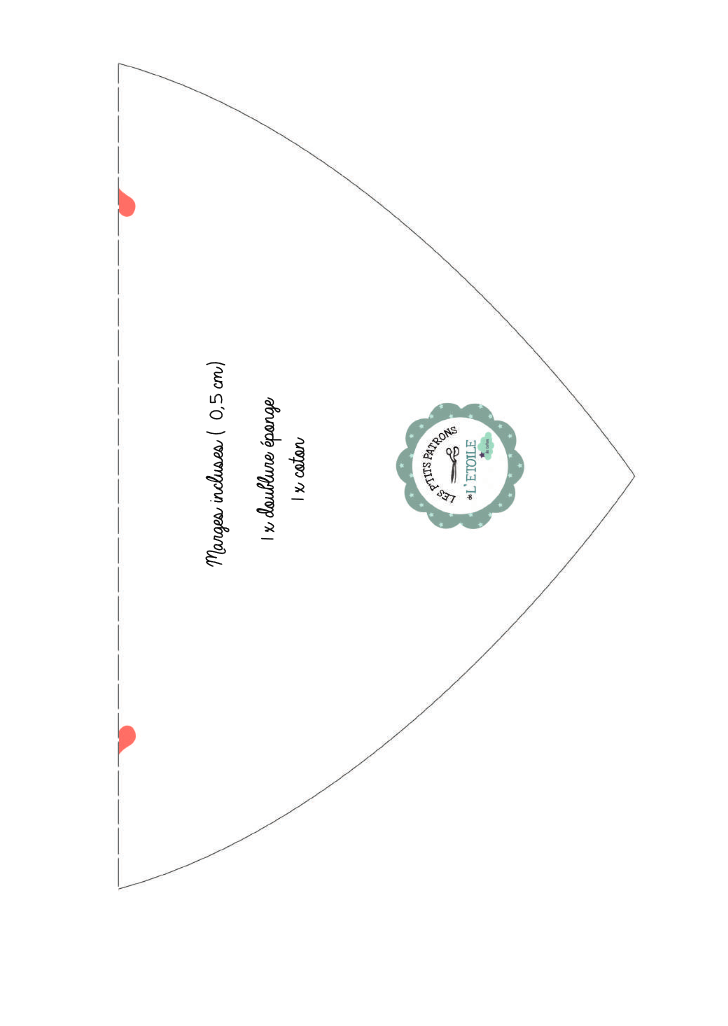
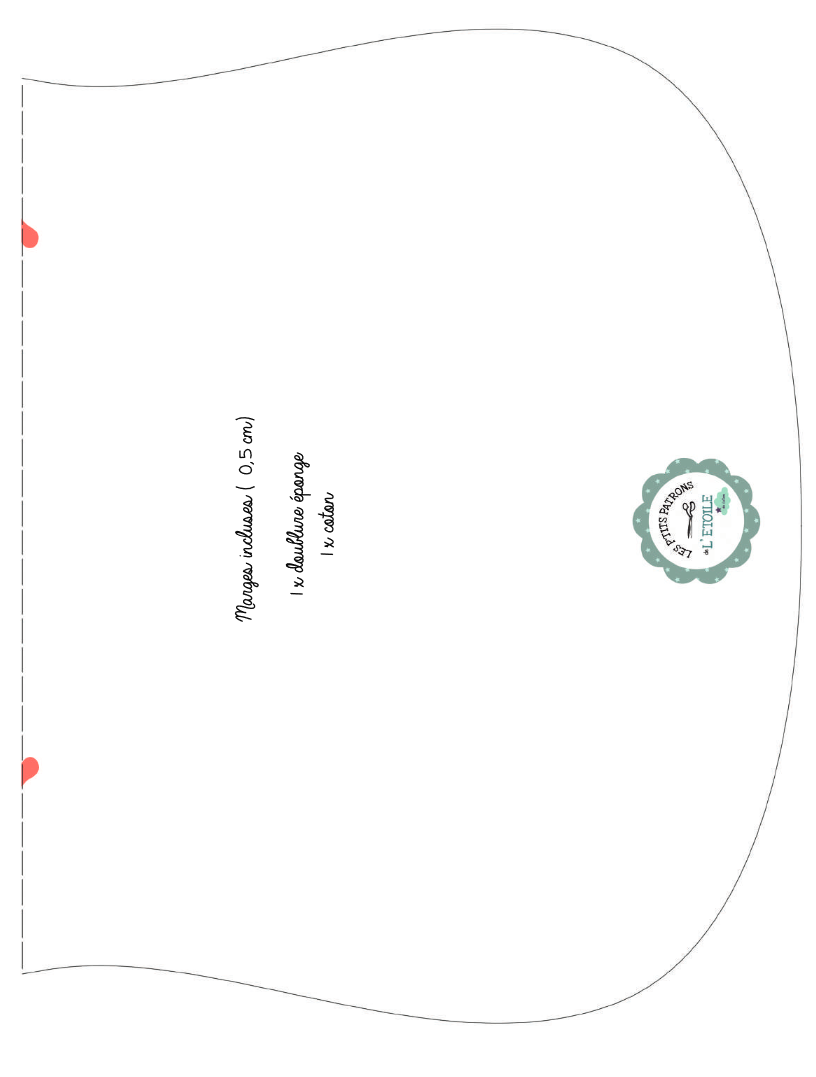
 Une idée de cadeau originale et 100% fait main pour une naissance ou une jeune maman qui souhaite se lancer dans la couture !
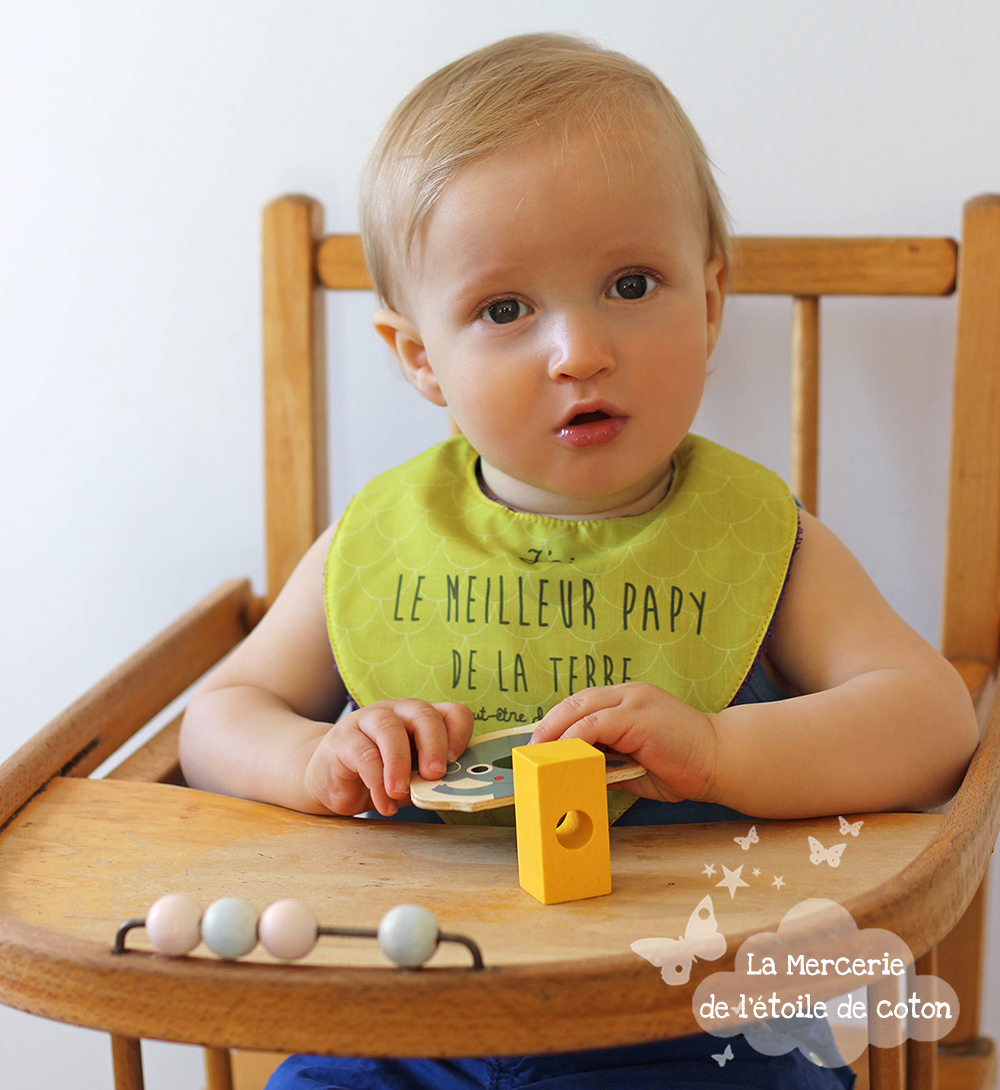
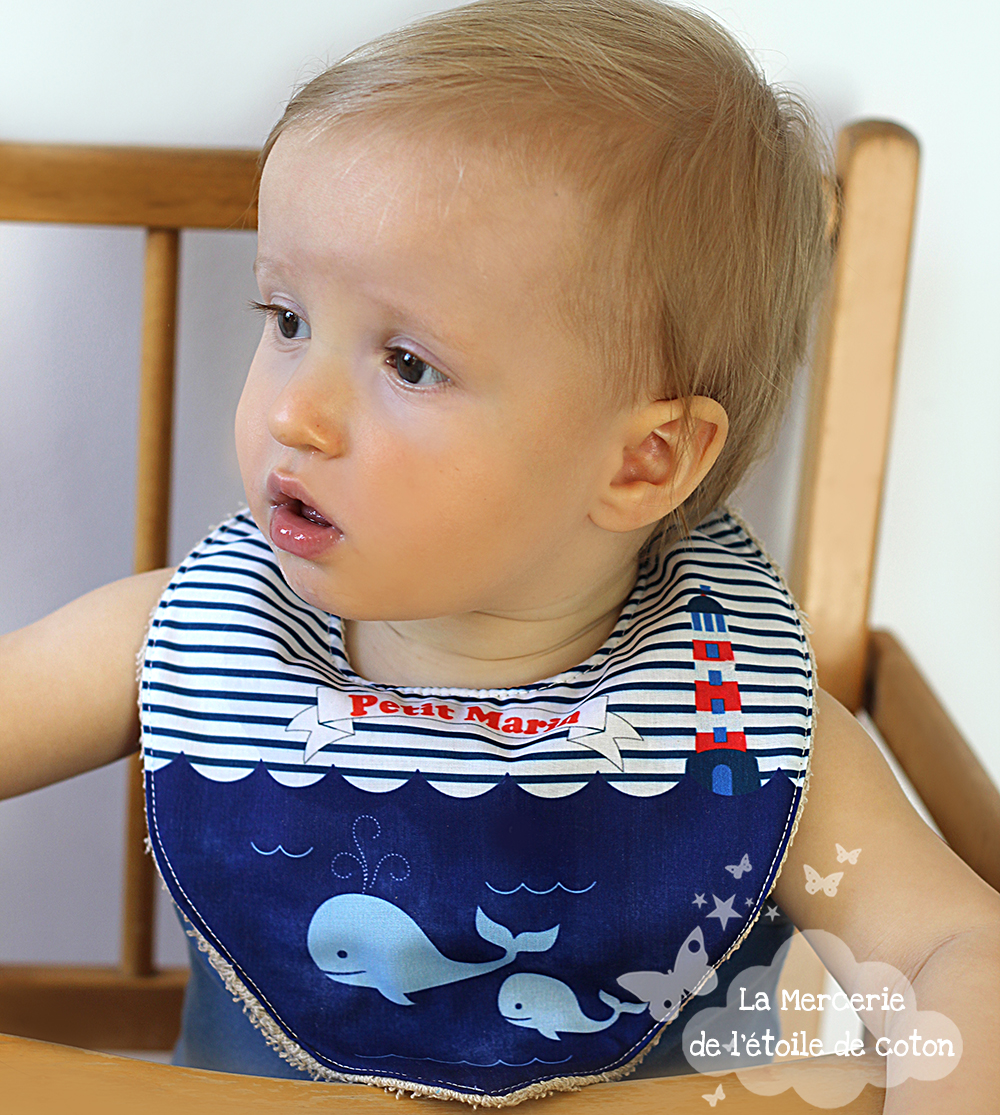 Le bavoir bandana est plutôt destiné aux bébés de la naissance à 12 mois environ : bébés qui bavent en sortant leurs dents, petits renvois...
Quant au modèle grand format, il s'adresse aux bébés qui commencent à manger "solide", c'est à dire autour de 6 mois à 36 mois.
1234

Top – Long Sleeve Tee
Here is an easy boss to realize that these gentlemen will wear proudly to the pub to our talents as a seamstress.
The choice of fabric:
an expandable velveteen
See here how to play the big boss (squared method)
Supplies:
1.50 m of jersey fabric (expandable in both directions) that the holding, eg cotton velor, ribbed jersey or honeycomb …
matching thread
Production:
follow the advice in pictures shown on this page;
realization of the neck: the facing fear be replaced with a bias cut from the same fabric
achieving wrists sew the short sides of the rectangle right side against right to form a ring. Bend the wrist to 2 against reverse. Pin each wrist right side against right sleeve, matching seams. Prick the cuffs on the sleeves. Topstitching possibly to keep the seam to handle.
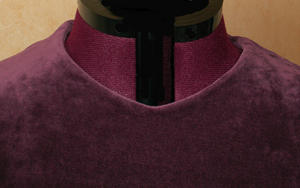
Detail of the neckline,
completed by an invisible facing
Tips and tricks:
– Compare the boss at one of your hoodies laid flat or / and check on you (especially the width of the sleeves)
– Simply sew the point zigzag, or if your machine allows it to stretch stitch sewing. It can also sew that shirt to the serger.
– Make a test on a scrap piece of fabric to see if your point is well settled: you need to sew two thicknesses without that gondola, otherwise change the settings (depending on your machine manual)
The facing See neck collarless the seam cutter site.
… And remember to send me a small photo of your achievement for my column try it fit …; o)
embroidery cloth bag
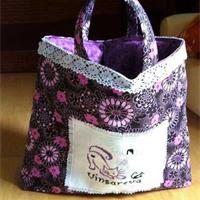
 Cloth embroidery sewing bag Pattern Free This small embroidery bag, done quickly, can store all our sewing equipment and embroidery. Practice, it can easily carry our necessary. To us the freedom to sew and embroider around any circumstance! |
|
Supplies
Equipment Small sewing equipment Pair of scissors Sewing machine Consumables Fabric for the bag, the inner bag and the handles Fabric for lining duffel Embroidery (Optional) Lace or ribbon (optional) Comment faire ?
How to do ? Production of handles and interior pocket Sew the handles inserting the fleece and topstitch them.
In the inside pocket, poke the smallest piece place against place.
Turn the bag.
Sew the pocket on the location of the liner leaving an opening to be able to drag objects.
Manufacture of embroidery bag
Sew, if you like, an embroidery on the outside fabric.
Place the fabric over the batting, place against place and sew it all.
Prick the bottom corners of the bag.
Assembly embroidery bag
Cut the corners.
Return.
Do the same with the lining: sew right side against right and cut the bottom corners.
Place the lining in the bag without turning.
Finishes of embroidery bag
Insert the loops between the bag and the lining and then poke around to fix them together.
Add a lace trim or ribbon to embellish and customize your bag. Site / blog: The blog of Valy City: La Montagne 1234 |



How to Recycle shirts seamless?
This video shows you how to recycle a man’s shirt. Some nice ideas to liven up your evening tomorrow!
1234 Rec123
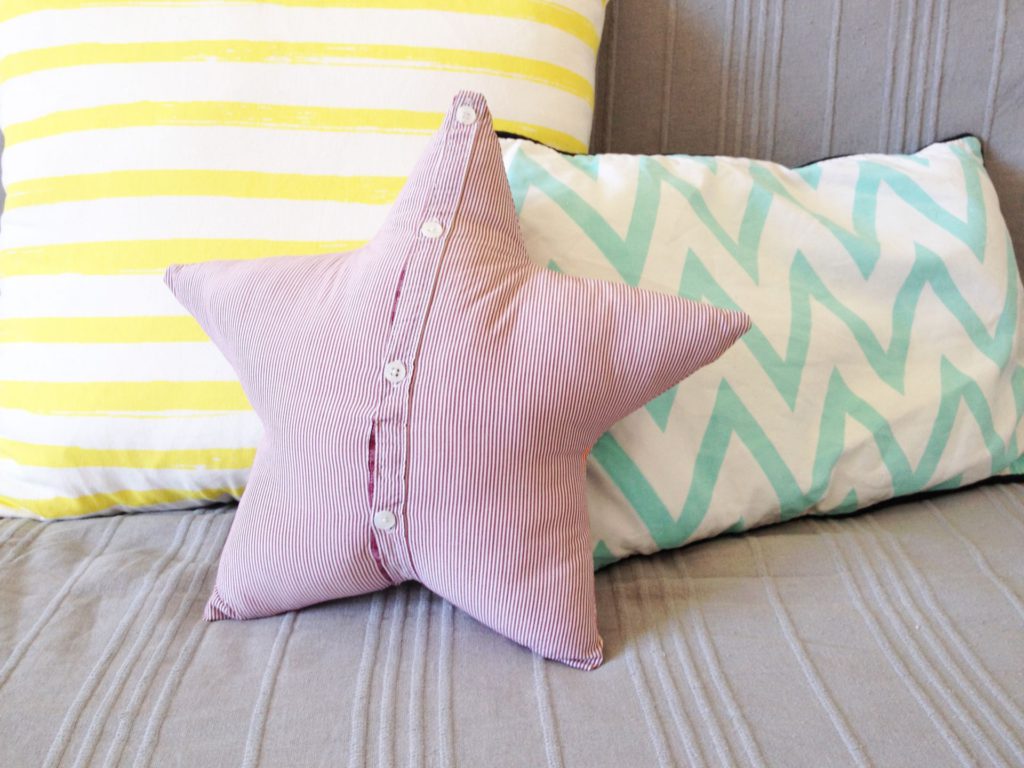
Quand chemise devient coussin
Découvrez comment j’ai transformé cette chemise en coussin étoile tout mimi !
Matériel nécessaire :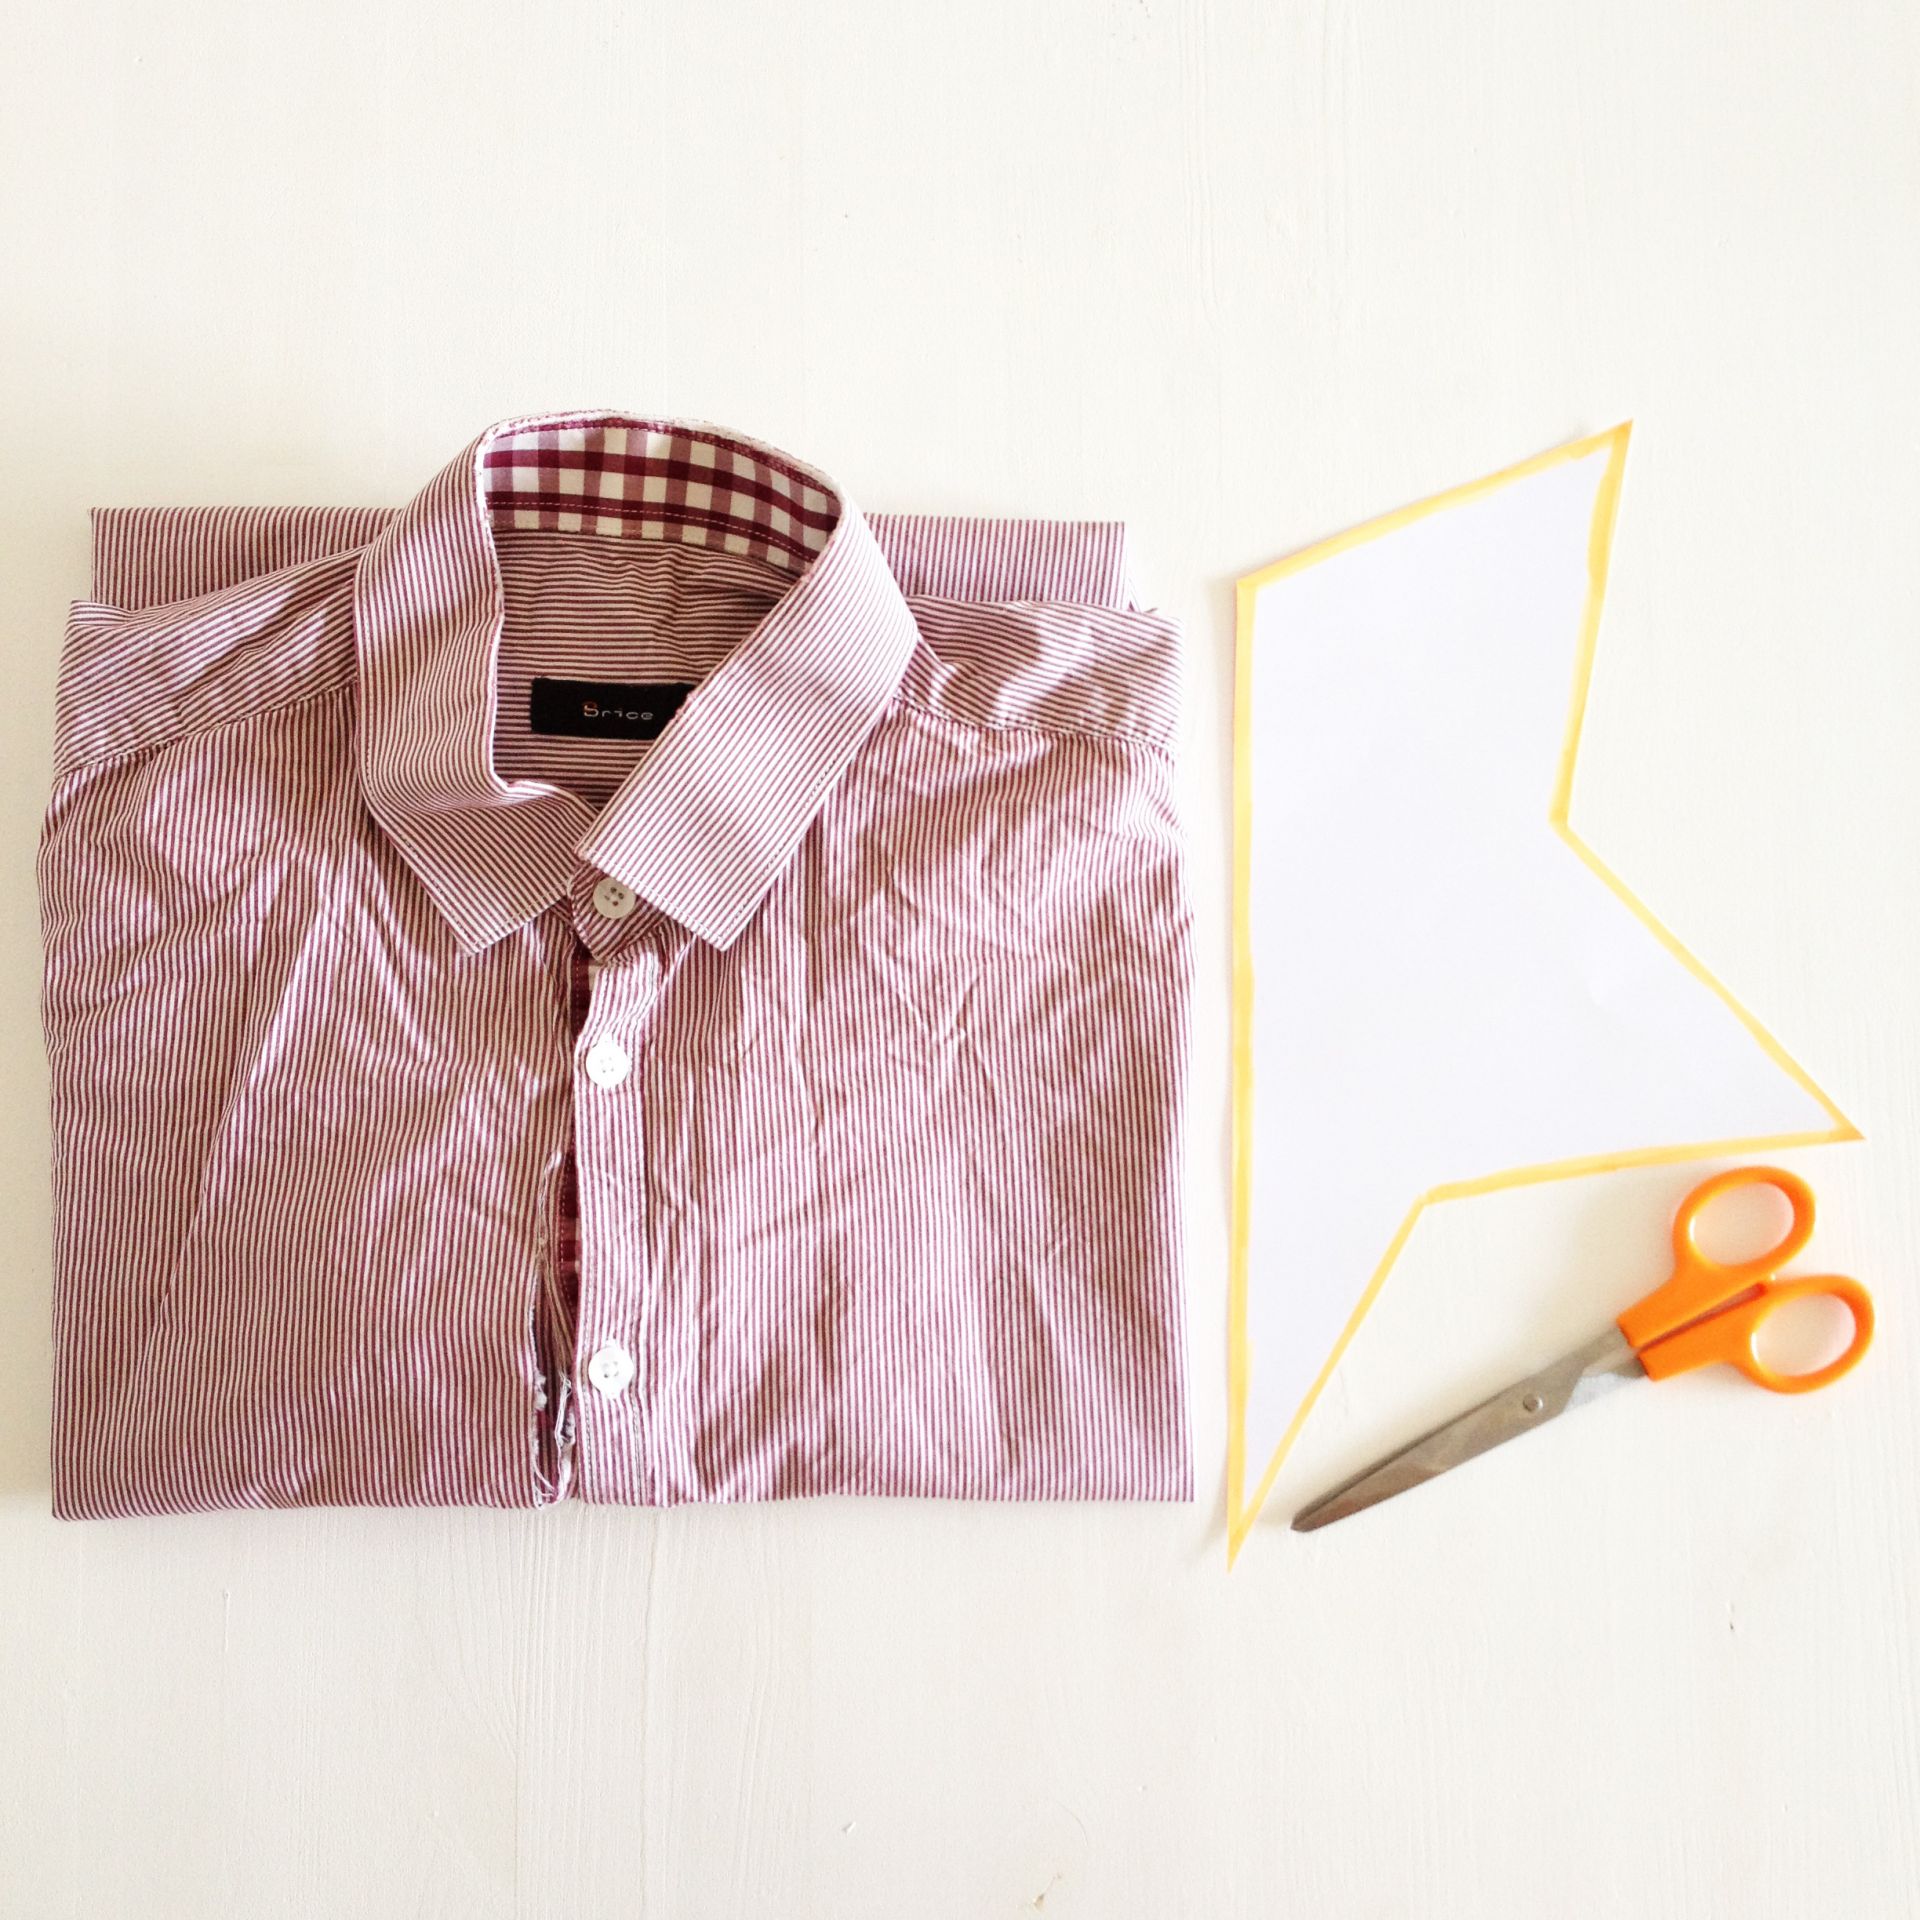
- Une vieille chemise ou une chemise abîmée, usagée, déchirée
- Un patron d’étoile ou demi-étoile
- Une paire de ciseaux
- Un crayon
- Une machine à coudre + le nécessaire qui va avec
Étapes de réalisation :
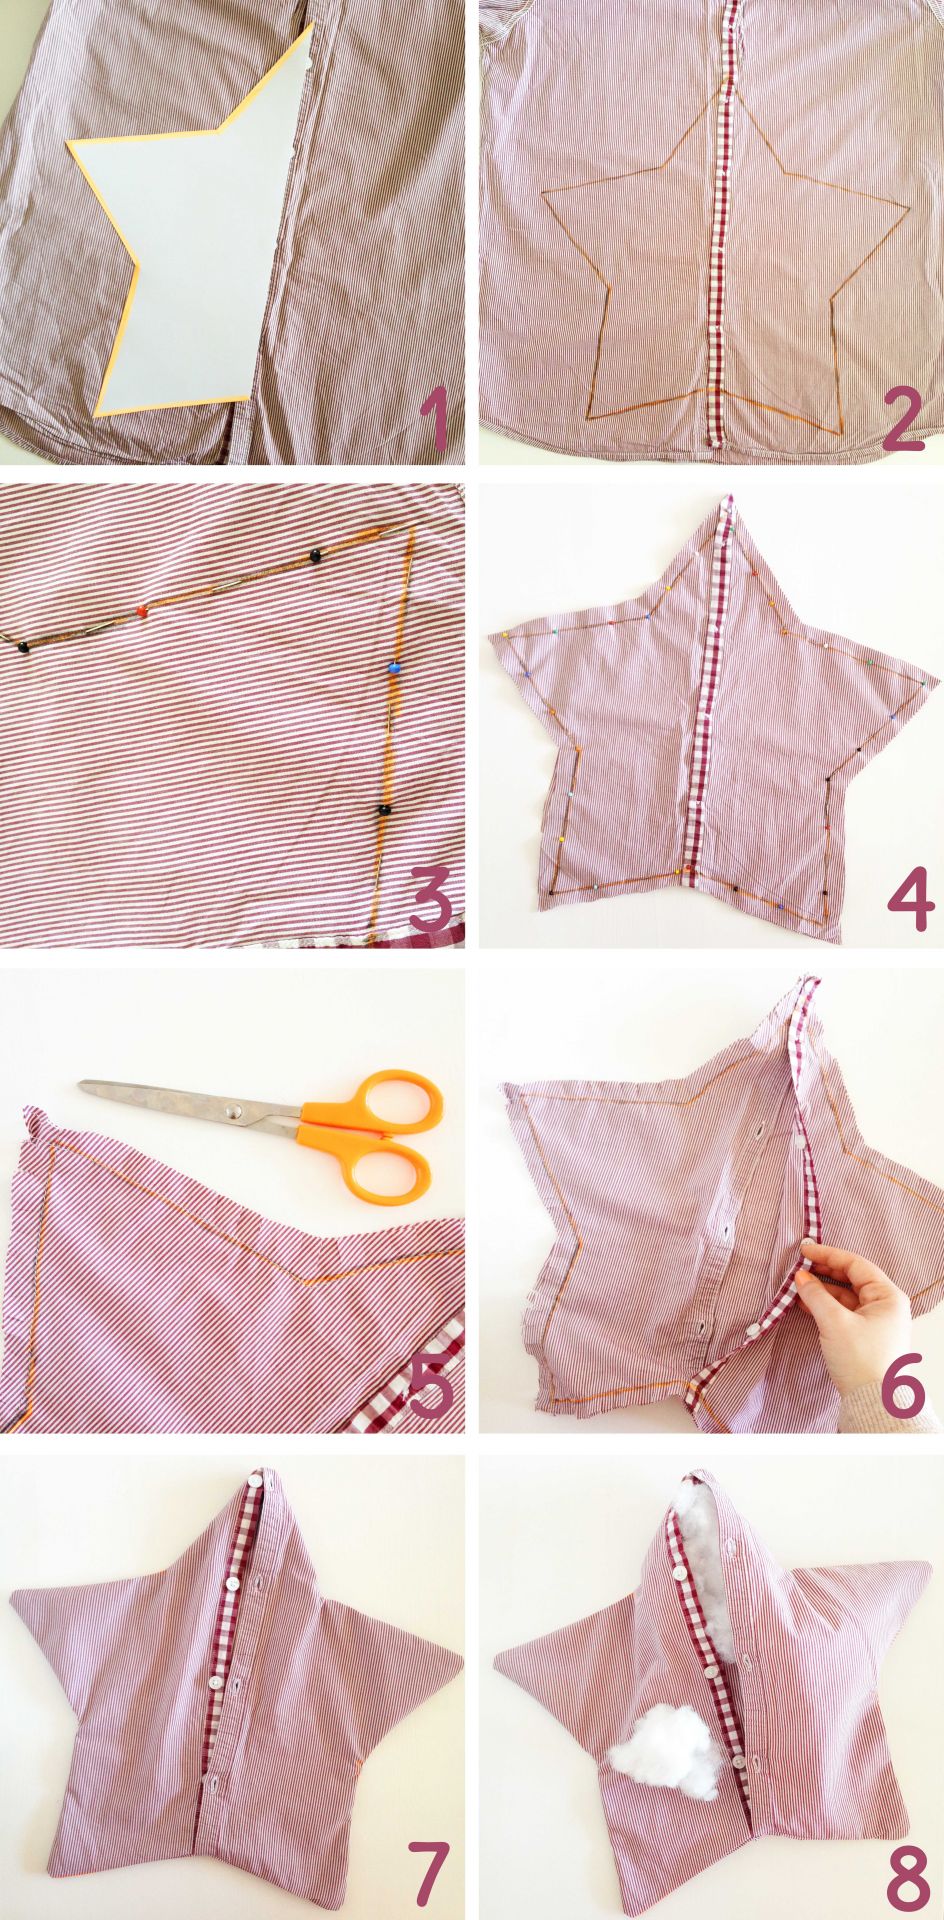
- Retournez votre chemise (intérieur à l’extérieur) et placez votre patron d’étoile au niveau des boutons afin que ces derniers soient placés au milieu de l’étoile.
- Tracez le contour de l’étoile.
- Placez des épingles tout le long du tracé en faisant attention de bien prendre l’arrière de la chemise dans ces épingles.
- Découpez tout autour de l’étoile à environ 1 cm du bord. Vos 2 morceaux d’étoile, avant et arrière, sont maintenus grâce aux épingles précédemment posées.
- Cousez le tout en suivant le tracé et « crantez » le contour de l’étoile à l’aide de vos ciseaux.
- Retournez l’étoile sur l’endroit et poussez le tissu dans les coins de chaque pointe de l’étoile.
- Repassez votre étoile. (facultatif, mais conseillé !)
- Remplissez le coussin à l’aide de rembourrage classique.
Astuce : Après avoir bien rempli votre étoile de rembourrage, vous pouvez effectuer quelques points de couture entre chaque bouton de la chemise, car ces derniers peuvent laisser entrevoir le rembourrage.
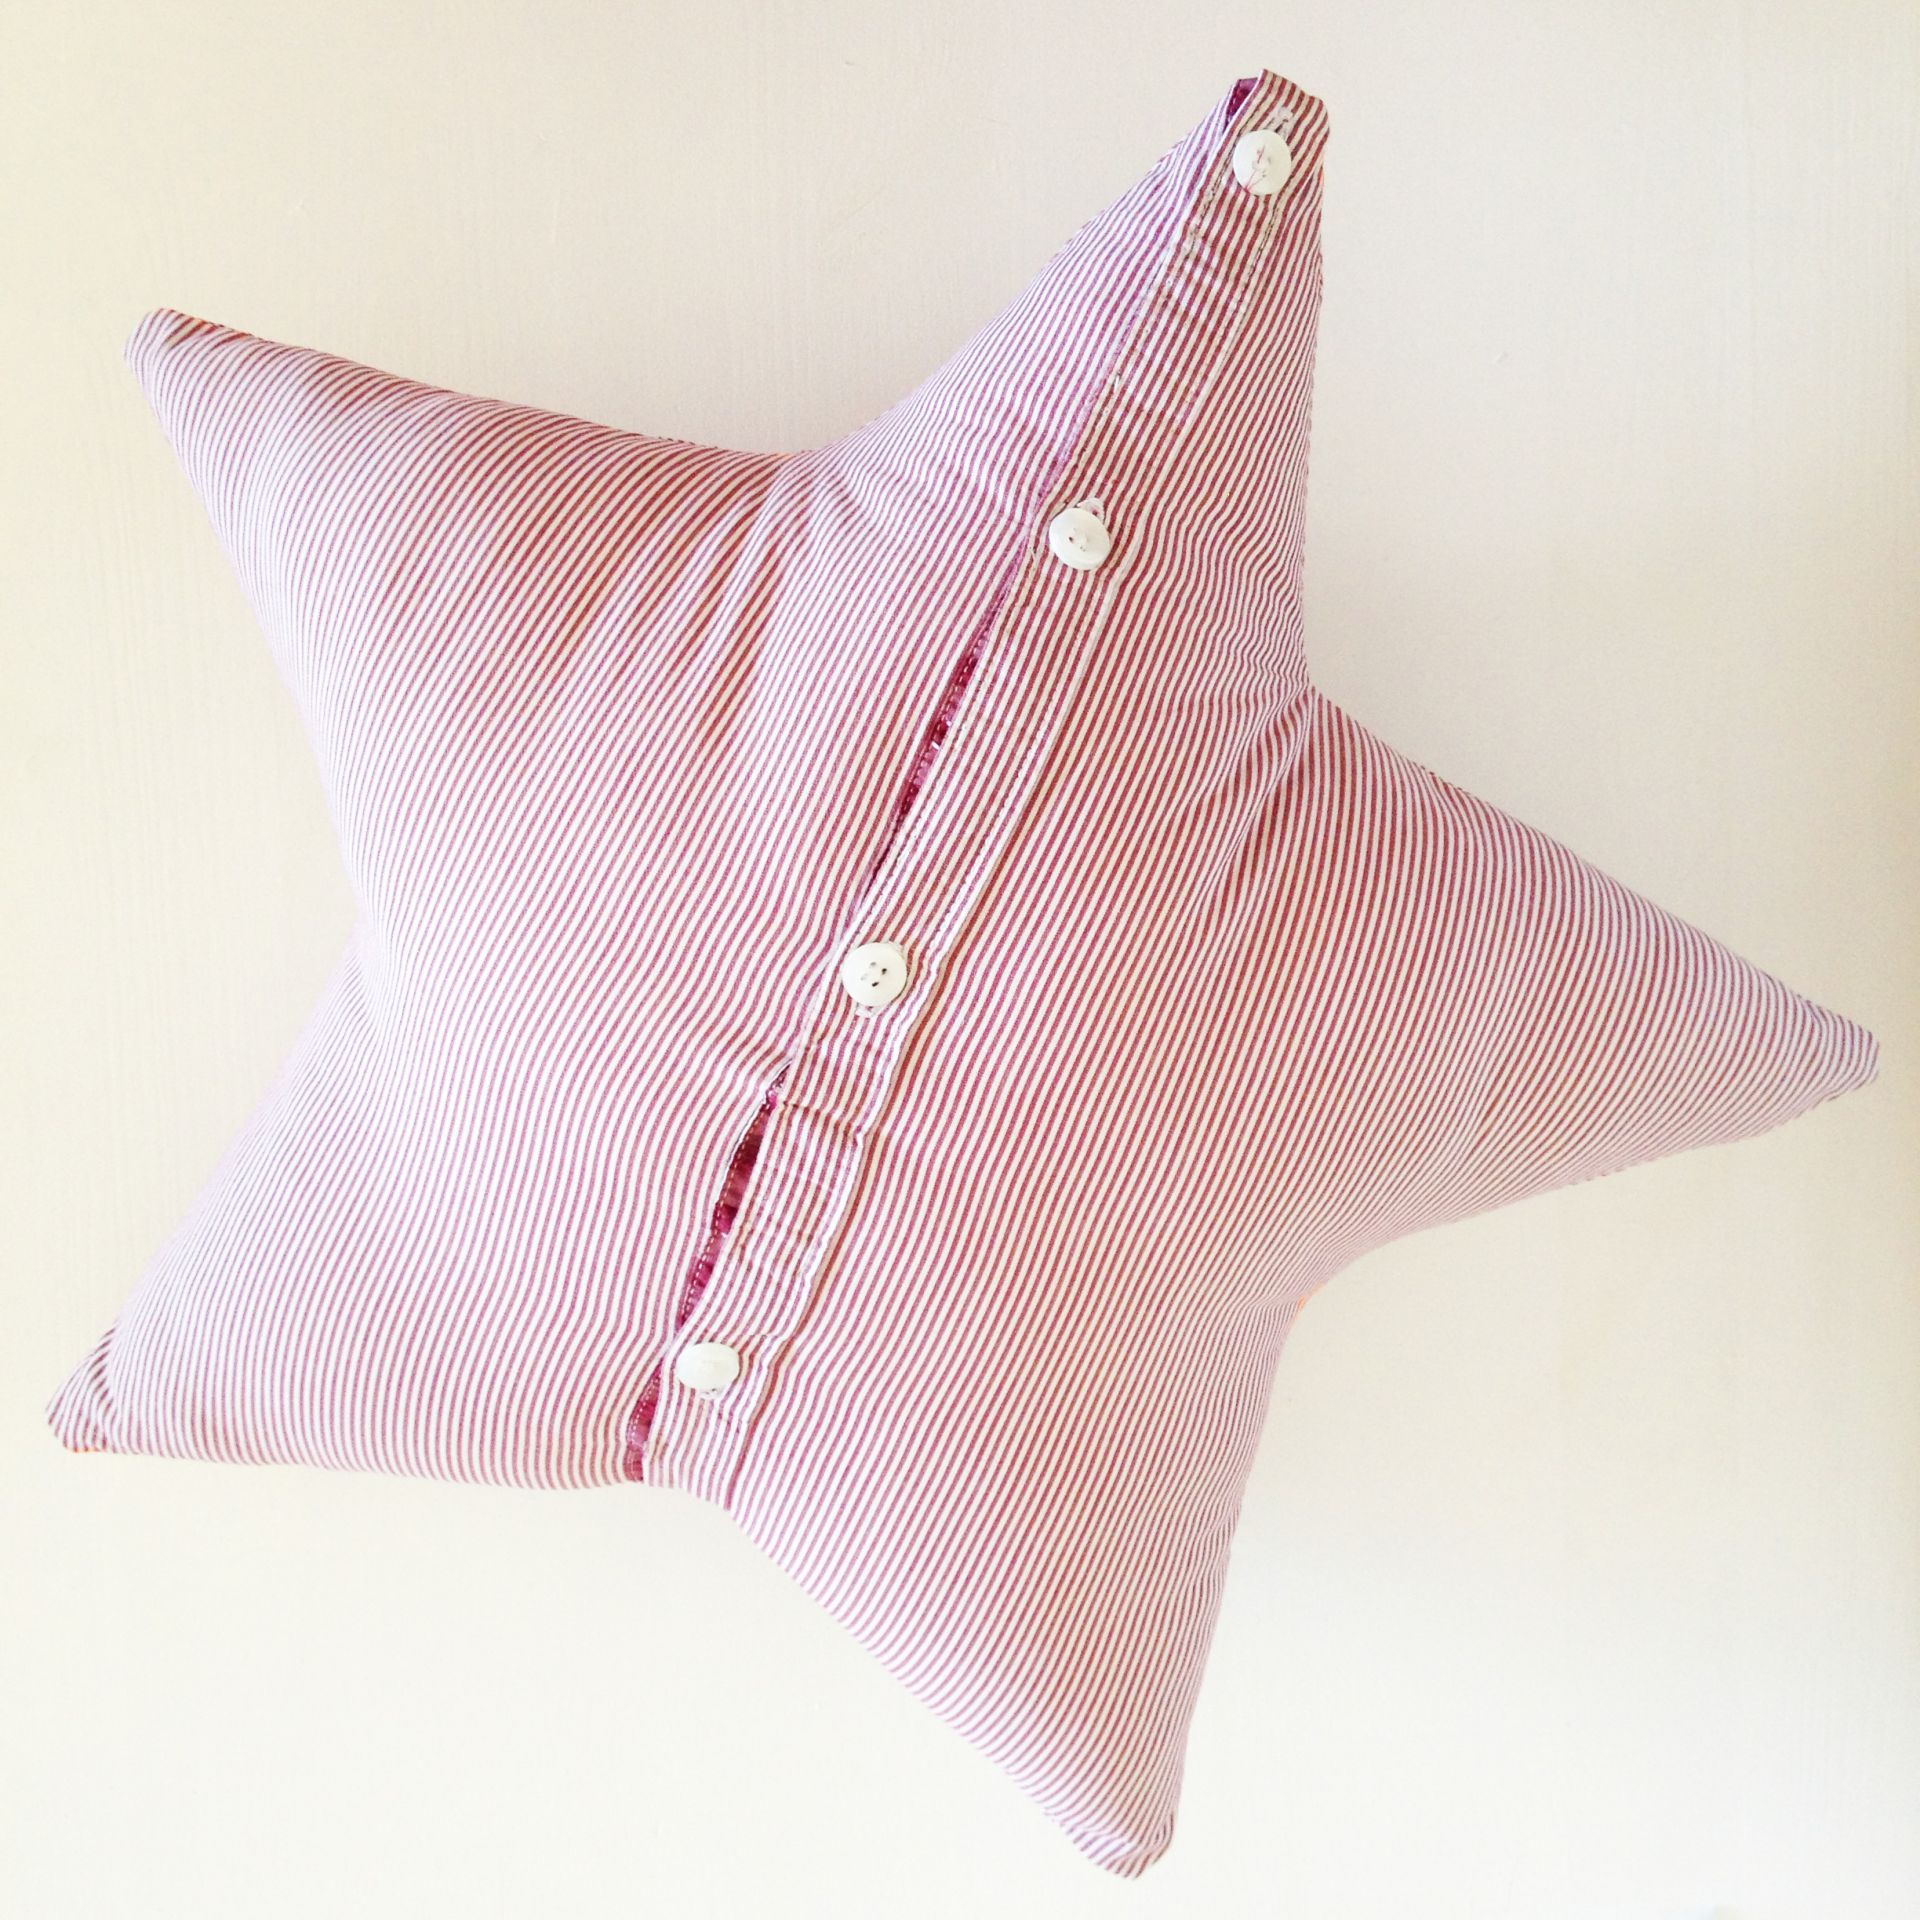
Et voilà, votre chemise est devenue coussin ! Une nouvelle vie l’attend ! Facile n’est-ce pas ?! Avant de jeter vos vêtements, pensez à ce genre d’astuce ! 😉
1234 asde123
Publié dans: Déco, DIY, DIY Couture, DIY Déco
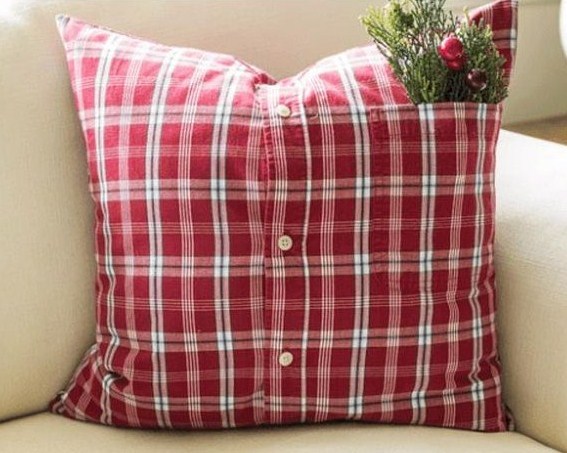
Transformer une chemise en coussin
Créez un coussin vraiment original à partir d’une simple chemise !
Le matériel
– une chemise au tissu assez épais
– de la ouate
– une machine à coudre
– un fer à repasser
– des ciseaux
– des épingles de couture
– votre patron ( patron en un morceau)
Valeurs de couture : 1 cm.
Budget : environ 5 €
Durée : 2 heures

Les étapes
1. Pour commencer, posez la chemise boutonnée sur un plan de travail et posez le patron de manière à intégrer la ou les poches de la chemise. Le milieu du coussin se trouve au niveau des boutons de la chemise. Coupez les carrés. Notre astuce : ouvrez les côtés de la chemise pour pouvoir la découper plus facilement.
2. Piquez le long de la patte de boutonnage.
3. Placez les carrés endroit contre endroit (les poches se retrouvent donc à l’intérieur) et piquez sur trois côtés à 1 cm en laissant le bas ouvert. Dégarnissez à 0,5 cm, puis coupez les angles au ras de la couture afin de faciliter le retournement.
5. Remplissez le coussin de ouate sans trop le bomber. Rempliez les bords du côté ouvert à 1 cm, épinglez et piquez.
Au final
Et voilà, vous venez de transformer une chemise en un joli coussin ! Votre chéri doit bien l’avouer, il a bien fait de vous confier sa belle chemise devenue trop petite ! Ce coussin va tellement bien sur votre canapé en cuir vintage… ça lui donnerait presque un petit style hipster !
1234 asde123
Proposé par Deco.fr , le 11/05/2015